

My Tried and True Gallery Wall Tips
July 1, 2024
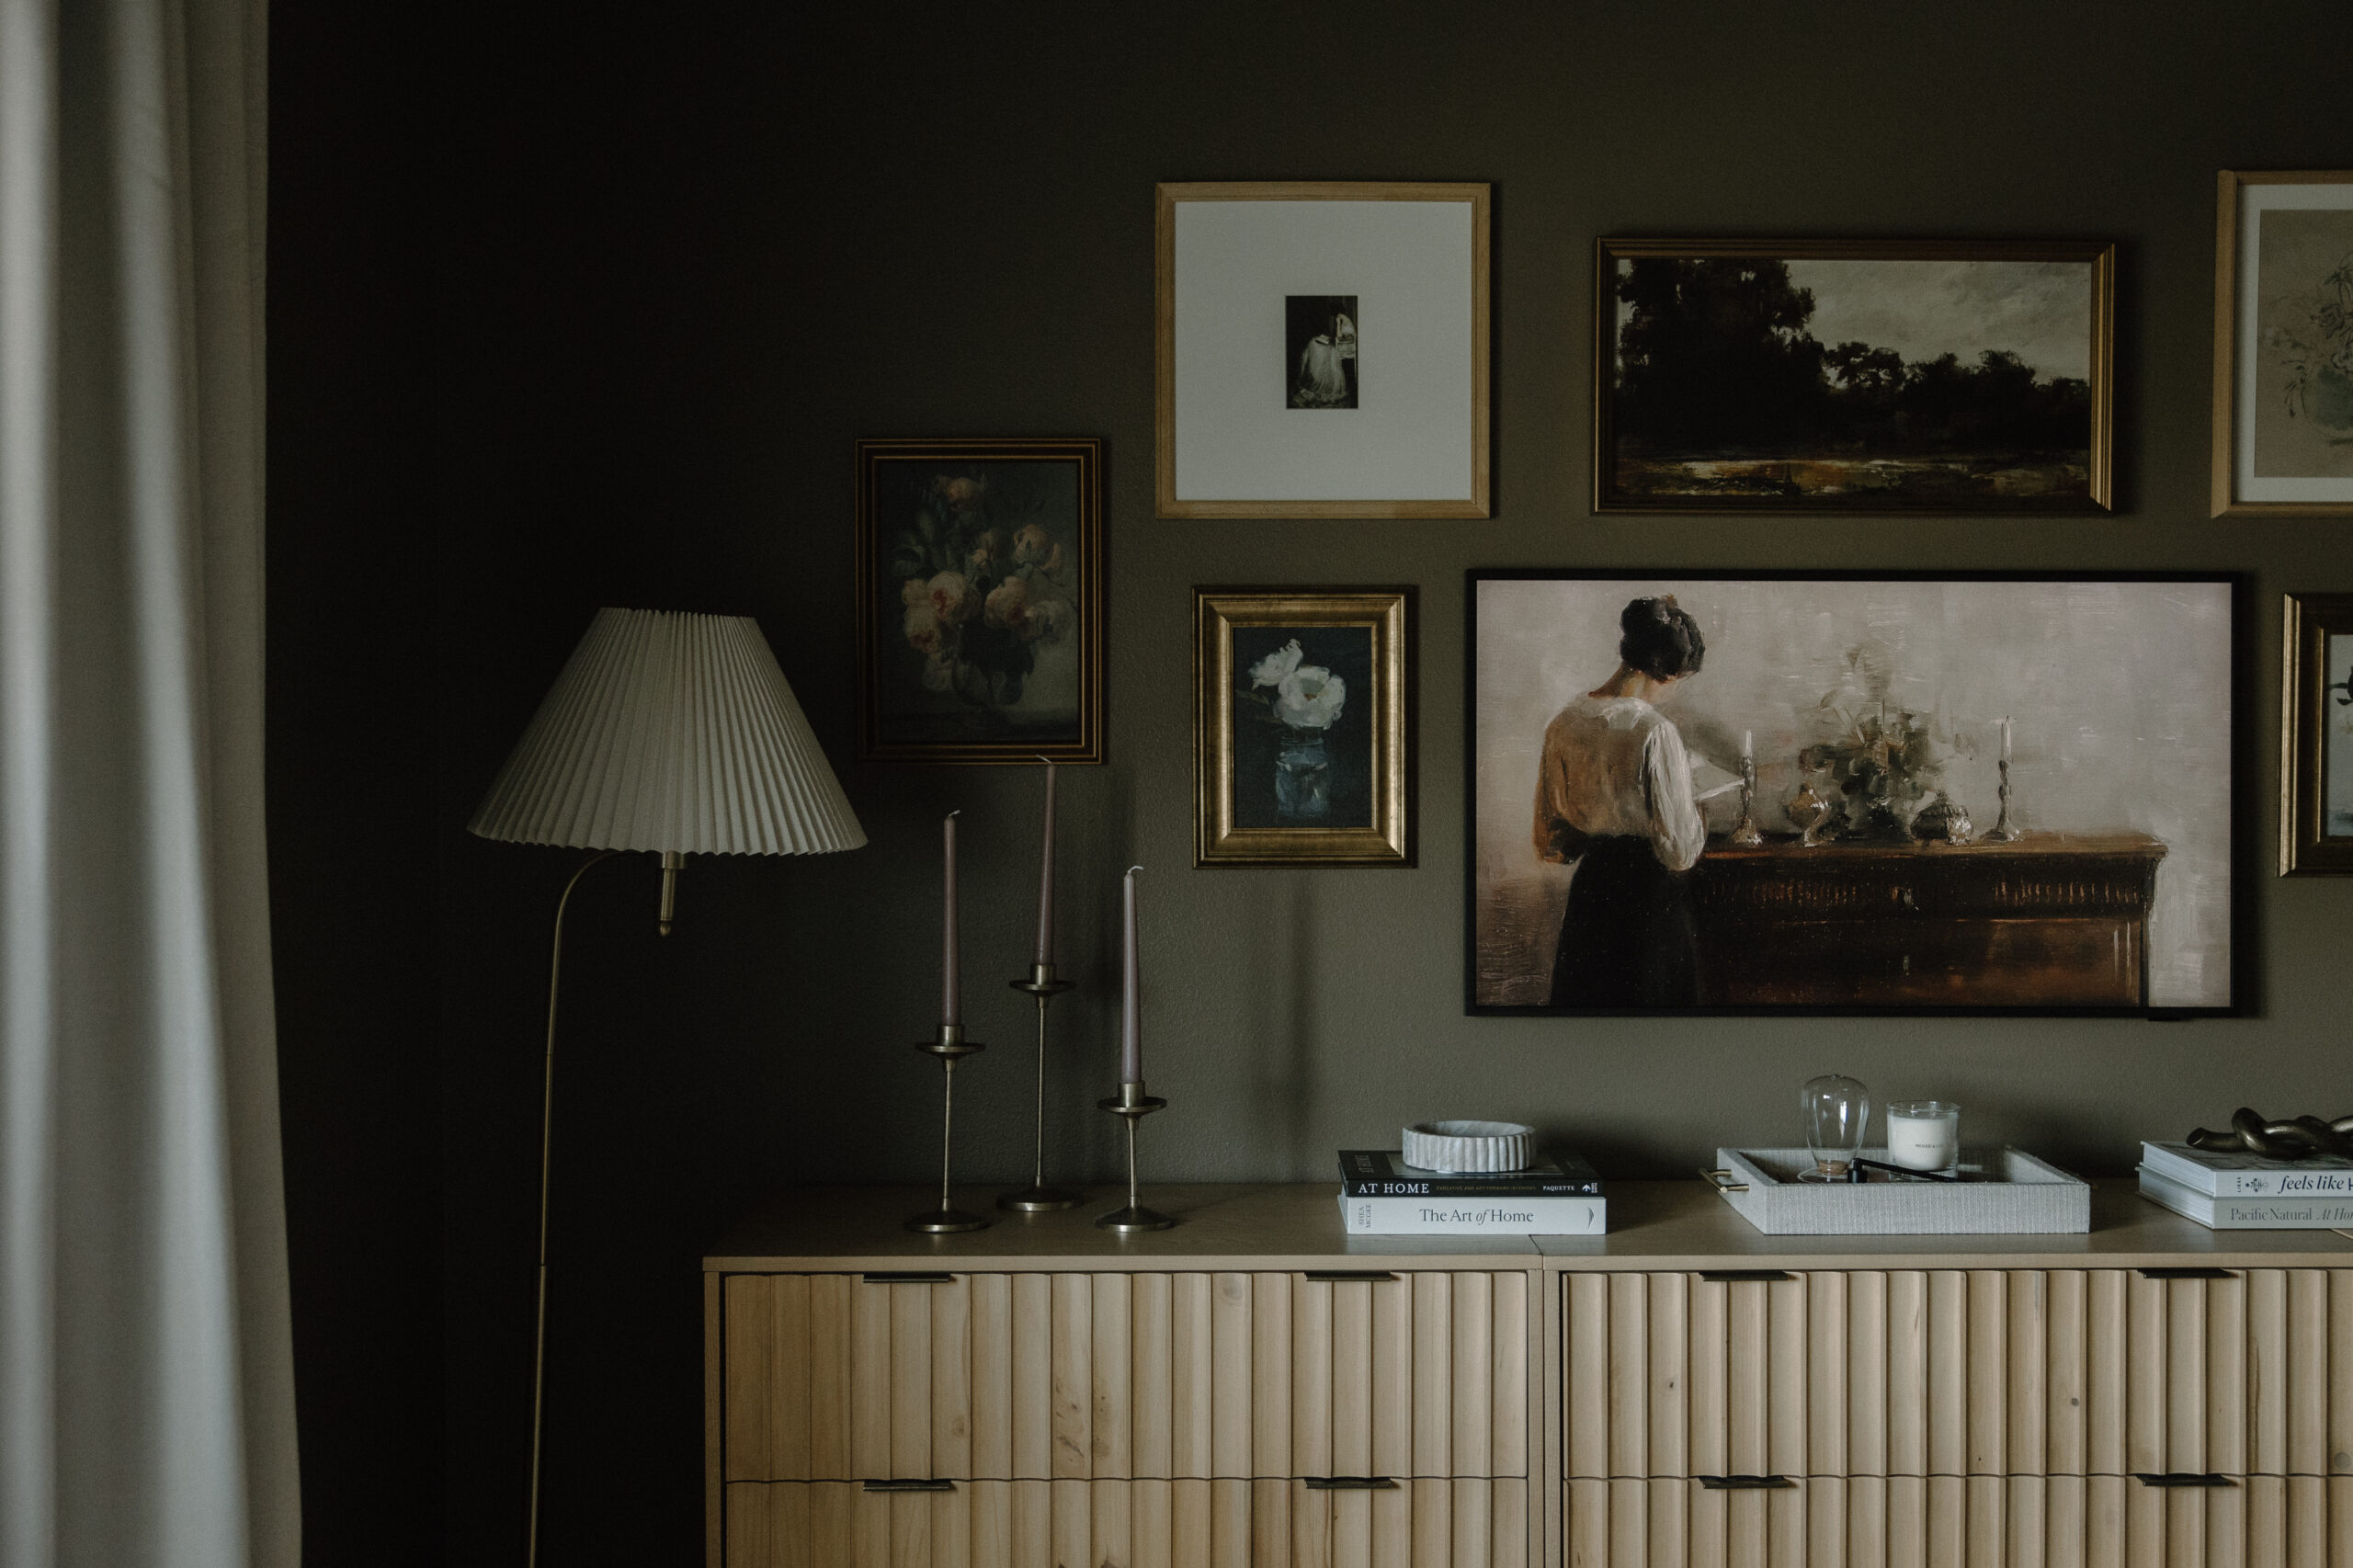
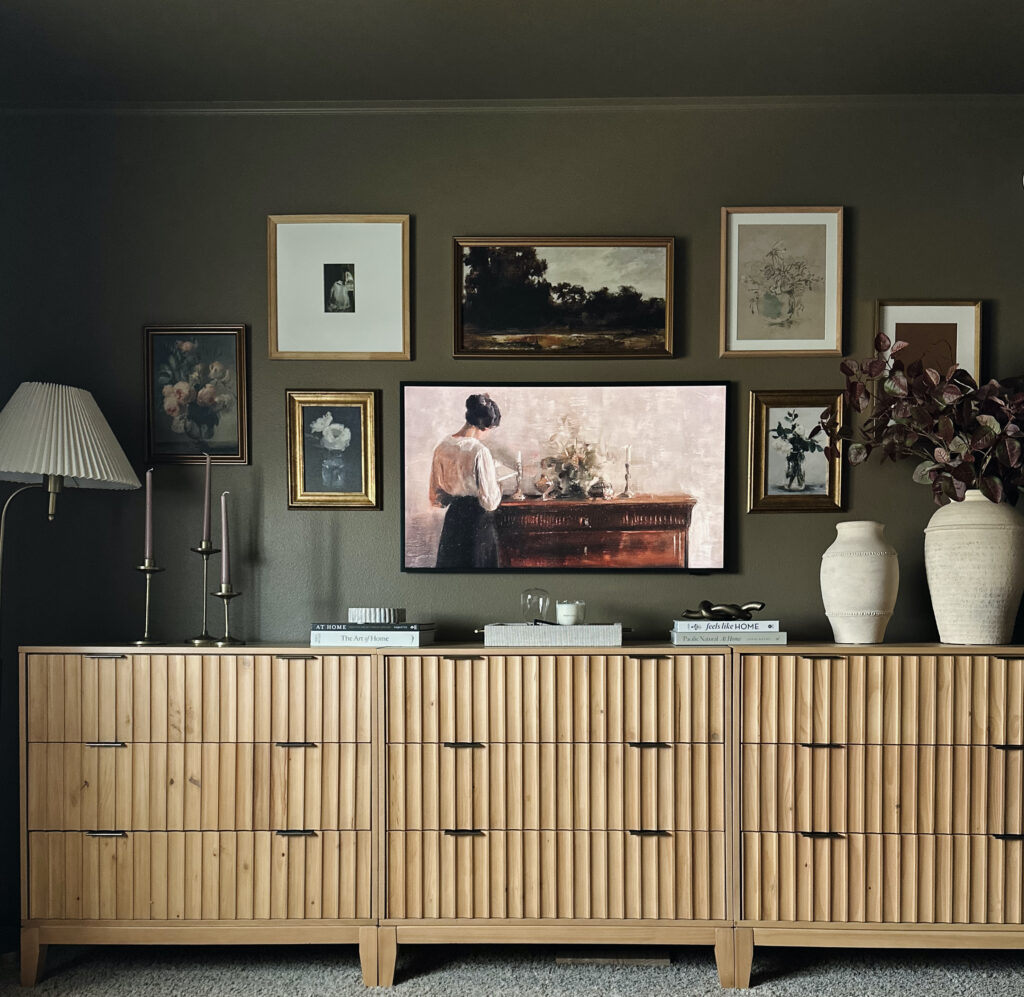
If you’ve been following us for any amount of time you know I LOVE a good gallery wall. I like displaying art around our home in various ways, but I’ll always have a soft spot for both structured grid gallery walls and more collected gallery walls. Now that we have multiple (4 to be exact!) gallery walls in our home I’ve noticed there are certain “rules” I follow when creating each one that make the process go quicker and smoother. Creating a curated gallery wall involves some planning to achieve a visually appealing and cohesive look. Keep on reading for some steps and tips to help you choose different-sized frames and art for your next gallery wall! (all sources are linked at the end)
Step 1: Plan Your Layout
Before I head to the thrift stores or Target to scour for frames I get a rough plan for the layout I want for that space. There are various ways to display frames, each with its own advantages!
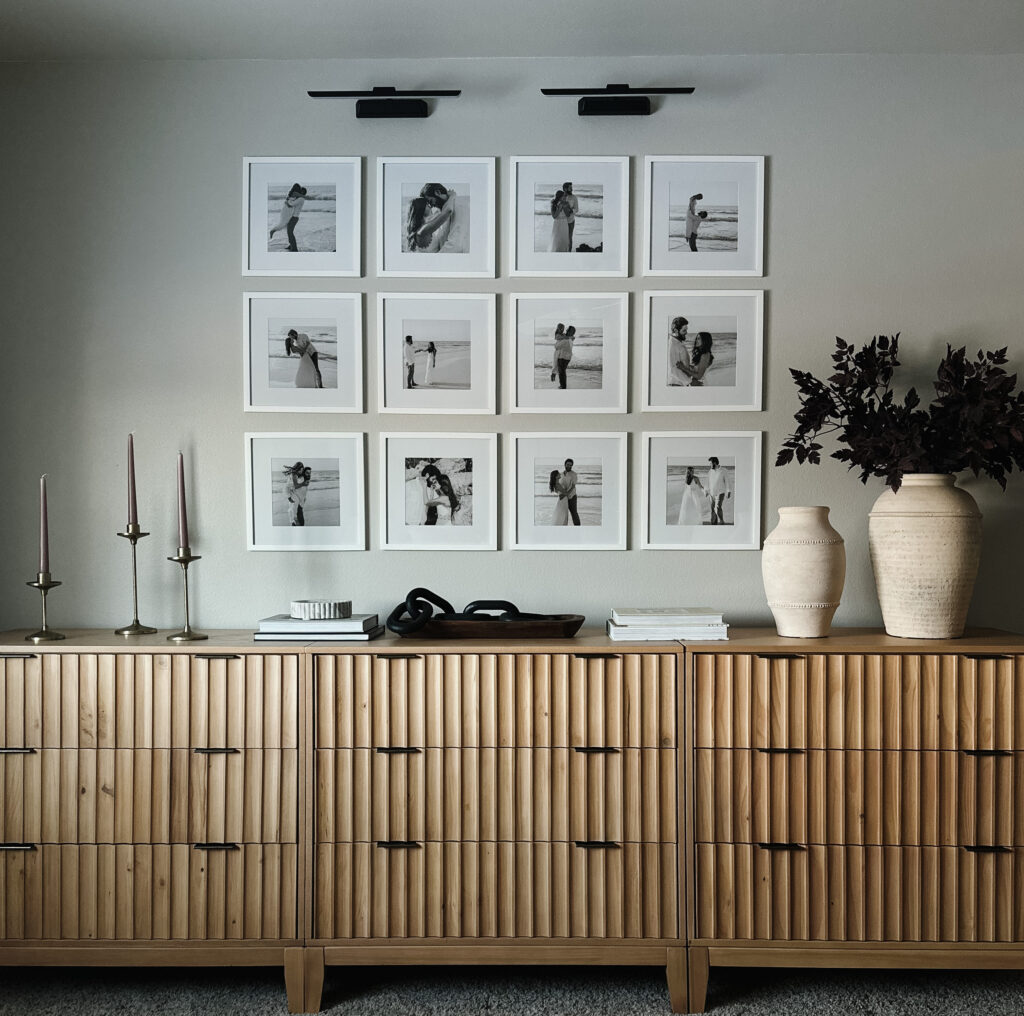
First, you’ve got the tried and true structured grid layout. This look is more symmetrical and uniform and works best with similar-sized frames! I love this option for displaying family photos throughout the home.
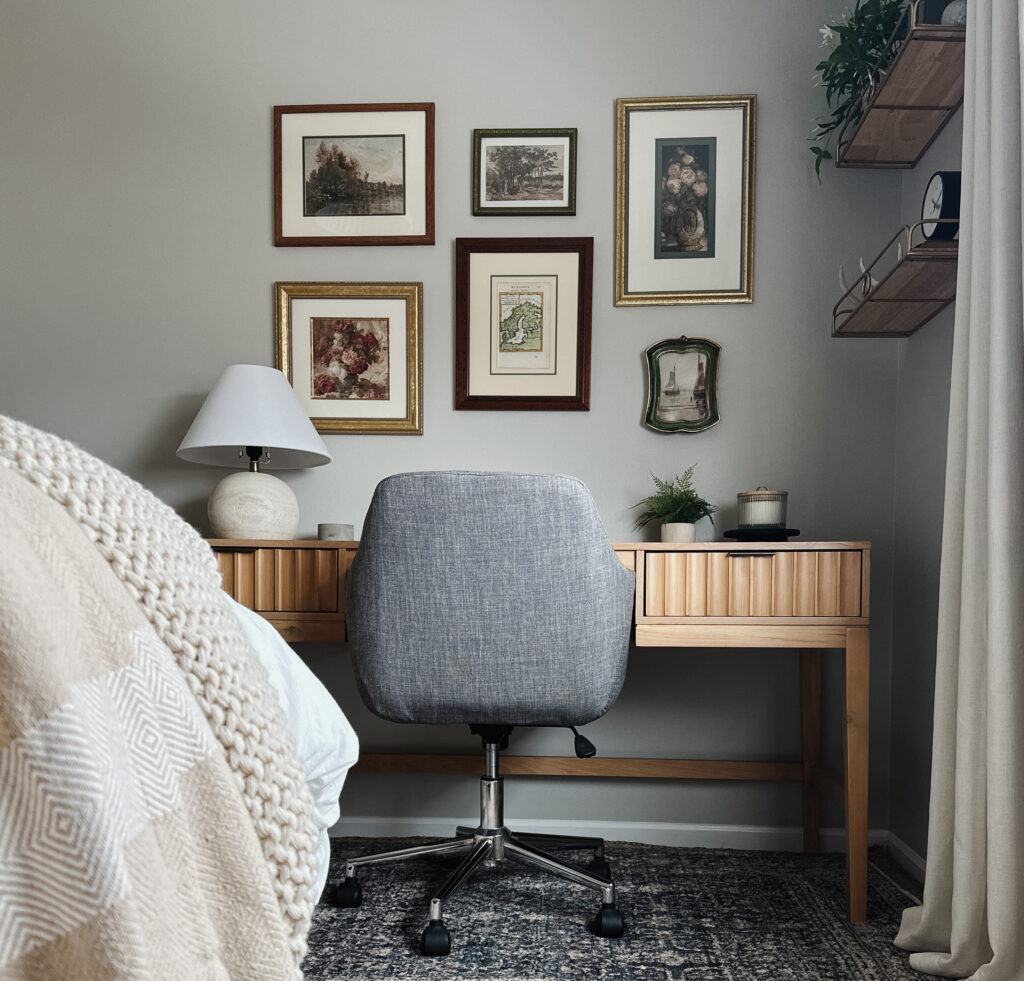
Next, you’ve got the more collected and unstructured layout. This layout is ideal for different-sized frames, colors, and styles, and brings with it a bit more freedom with design.
Last you have the linear layout. This layout can be horizontal or vertically aligned and is great for narrow spaces like a hallway!

Once you’ve settled on what type of layout you envision in your space you have to do the one thing I struggle with the most…measuring! I can’t even begin to list the number of times I have forgotten to measure something before hitting “add to cart” and it arriving 5x larger than expected, but I digress that topic could be an entire blog post in and of itself. Okay, back to the tips- before I head to the store I (let’s be real here Jeff) measures the wall area where we will be hanging the gallery wall to help in planning the size and number of pieces we will need to accommodate that space. Once we’ve got that measurement we’re heading to the car and off to step #2!
Step 2: Selecting Frames
Now we’re on to the fun part! Hitting up your city’s various thrift stores, perusing the aisles of your favorite stores, or scrolling Etsy or Amazon for unique finds. You probably just read the word “Amazon” and thought to yourself “Is she nuts? There aren’t vintage pieces there!” but I’m here to tell you there are sooo many affordable vintage-inspired frames on Amazon such as this little cutie!
For structured grid walls shopping is much quicker and a bit easier as you just need to find one style of frame you like for your space and purchase multiple of that style.
When going for a more collected look you’re going to spend more time looking for a variety of different pieces that will look cohesive together. I like to mix and match my frames looking for the following things:
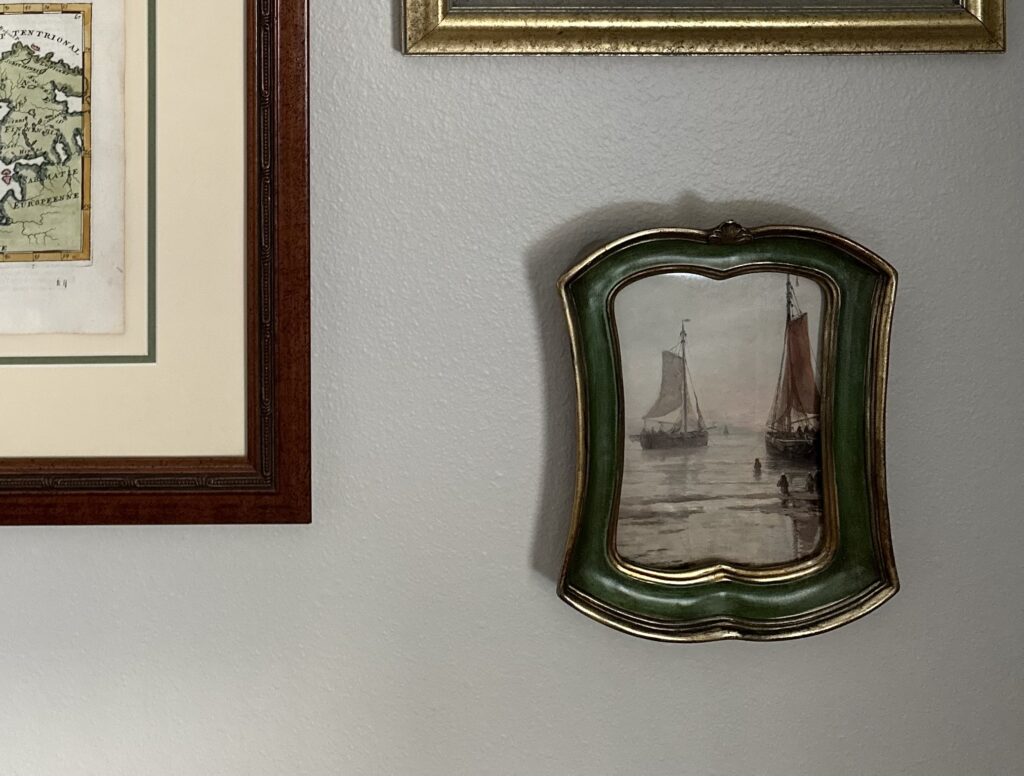
- Using frames of various sizes: using a variety of different-sized frames for a gallery wall adds visual interest and gives the display that “collected” look. I think a good balance is created when large, medium, and small frames are all used in a collected gallery wall! Small frames also work as a fantastic filler for any awkward gaps in a gallery wall.
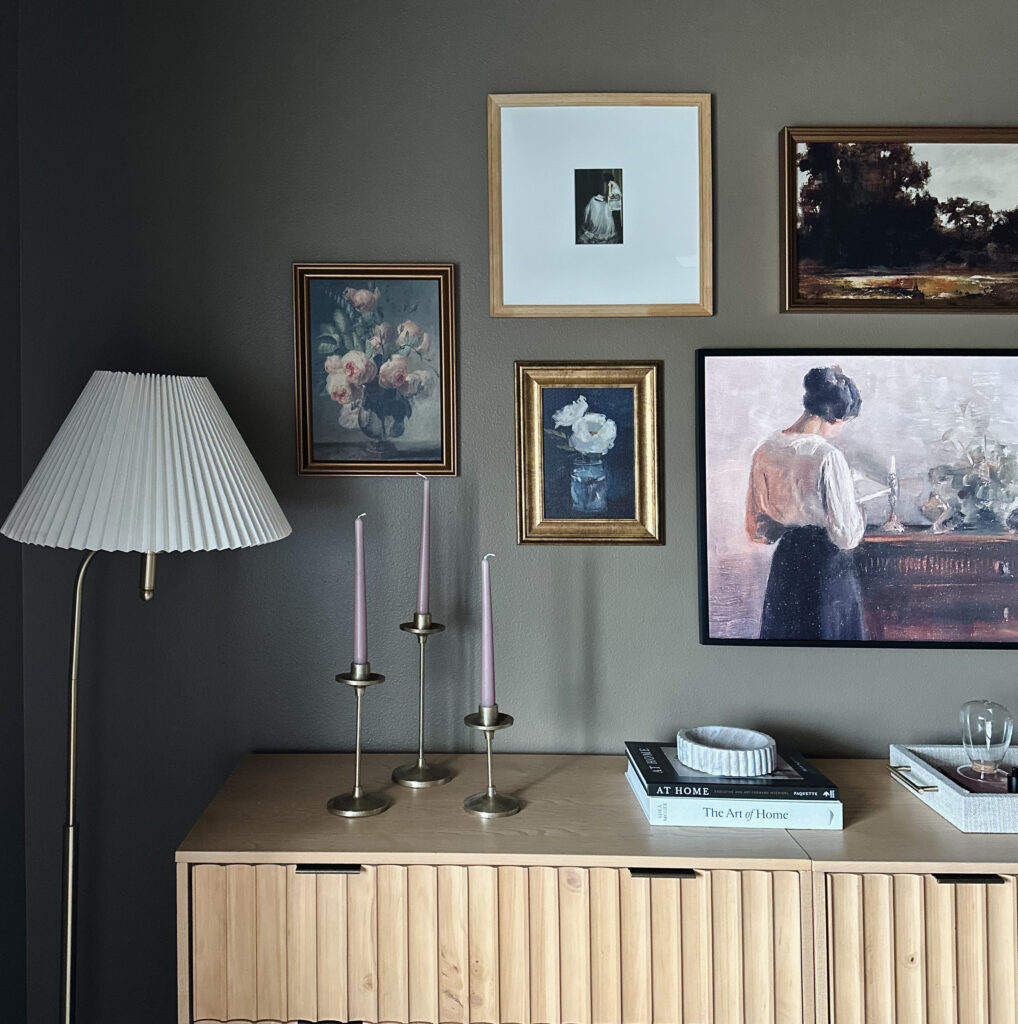
- Mixing frame colors and materials: the part I love most about a collected gallery wall is that everything doesn’t have to be “matchy-matchy”. Don’t be afraid to mix brass, black, and different wood tones all in the same gallery. Personally, I like to make sure there are both metal (typically brass) frames and wood tones in each of my gallery walls. If you find a frame that has details you love but you don’t like the color don’t be afraid to head to Home Depot and get a can of spray paint! Any frame can easily be painted.

- Different shaped frames: if you’re going for a structured gallery wall all the frames can be the same shape but that gets a bit boring for a collected gallery wall. This is your time to have some fun and incorporate different-shaped frames such as ovals, circles, squares, rectangles, etc.
- A mixture of frames with and without mats: I typically make sure that in each of my gallery walls, I have a mixture of both. A lot of the older frames at the thrift stores come with mats in beautiful colors! If that color doesn’t go with the look you’re going for in your space they can be easily removed.
Step 3: Choosing Art
Art for your gallery wall can come from so many different places: digital downloads from Etsy, paintings from a local artist, photographs, prints found at the thrift store, etc. The majority of the art in our home is from Etsy. I download it at home and then have it printed to the size I need-easy peasy! I personally like the art in my gallery walls to share a common theme or color scheme to help create a cohesive look. This could be picking a specific color palette, subject matter, or style.

When choosing art for your gallery wall keep these things in mind:
- Look for different-sized art for your different-sized frames. If there are a lot of small details you love in a photo those details might be lost if the photo is put into a really small frame.
- Make sure you have both landscape and portrait-orientated art.
- Remember you can mix the styles of art that are in your frames (oil paintings, portraits, black and white sketches, etc.)
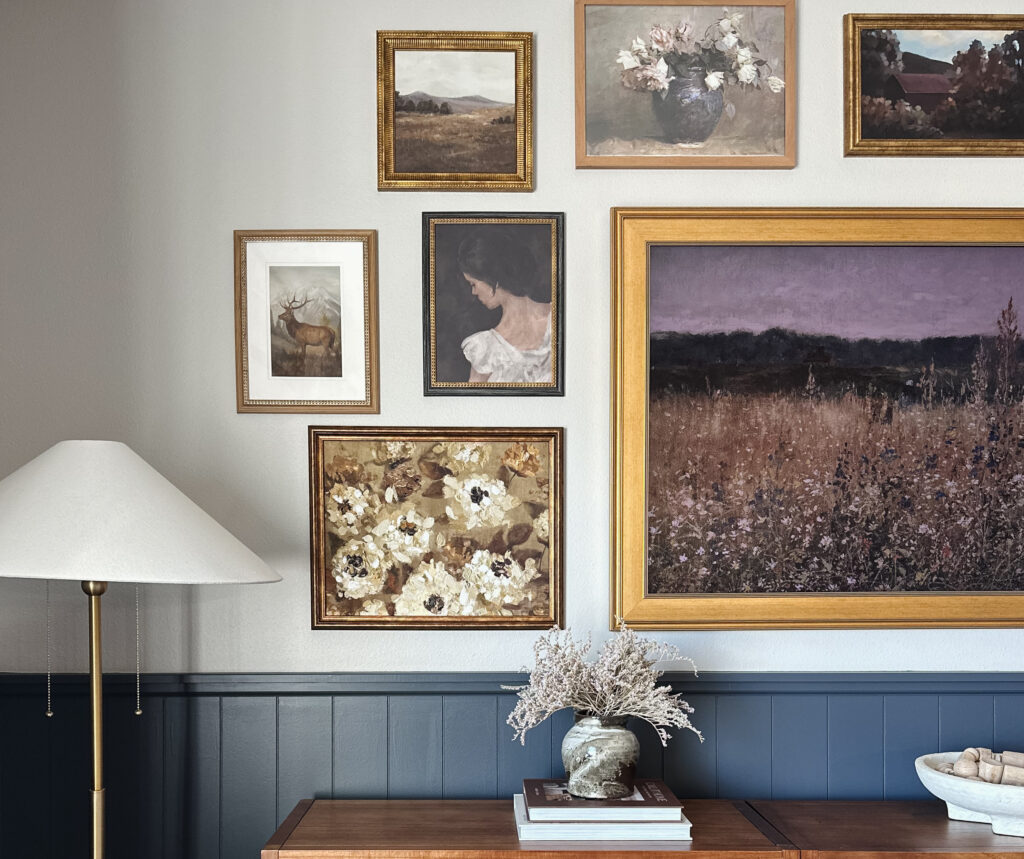
- Mix subject matter! I like having a variety of portraits, nature, and animal prints all mixed into my gallery walls for added interest.
Step 4: Arrange Before Hanging
THIS is the step you don’t want to miss for the sake of your marriage, lol. Once you have all of your frames, measure out an area on your floor that is the same dimensions as where the gallery will be going on your wall and make a mock-up gallery on the floor. Lay all the frames out on the floor to visualize the arrangement. Start by laying out your largest pieces and then building around that. Move the frames around to see if you want a more balanced, symmetrical look or a more eclectic, asymmetrical arrangement!
To take this visualization exercise one step further- cut out paper templates the size of each frame and tape them to the wall! You can also use painter’s tape to map out the dimensions of the frames. This allows you to experiment with spacing and arrangement without making holes in the wall. To be completely honest with you all I usually like to choose chaos and skip this step ;P.

Step 5: Hanging the Frames
Always start by hanging the central piece or the largest frame first and then work outwards from there. Sometimes I like to maintain consistent spacing between frames such as when we are creating a gallery wall around our Samsung Frame TV, but other times I love the variation of spacing- pick whatever look you like best!
Something I highly recommend for any hanging project is this laser level. We have used this on every single one of our gallery walls and it truly makes installation a breeze! Using a laser level ensures that each frame is straight so you’re not staring at the wall at night wondering if the picture you just hung is crooked.

Step 6: Final Touches
Once everything is up on the wall I like to step back and adjust. Go around the room and look at the wall from different angles. Make any necessary adjustments to improve the overall balance and cohesiveness and fill in any odd gaps with smaller frames or decorative objects!
For a full round up of our gallery wall sources see below:
*All links are affiliate links, which means I make a small commission from the brands for each sale. Thank you SO much for your kind support always.
Would love to hear what you think below!
Leave a Reply
Be the first to comment
Relatable Designs, Cost-Conscious Luxury - From Our Home to Yours
Finding Beauty in the Space You’re In
shop our home
work with us


Hi, this is a comment.
To get started with moderating, editing, and deleting comments, please visit the Comments screen in the dashboard.
Commenter avatars come from Gravatar.